I love Detect It Easy. It’s my go-to tool when it comes to triaging malicious samples and it continuously exceeds my expectations… Except the times when I forget to use it EARLY in my triage process !!!
A random person from the internet contacted me today asking to help them with unpacking of some unknown linux malware. They thought it might have been protected by SHC, and since they have read my post about it, they assumed I can help…
Now, I have dealt with many *nix malware samples in the past, but I would lie saying that they make me comfortable. I am still primarily Windows-centric malware analyst and anytime I have to look at anything else (meaning: non-Windowsish) I… panic 🙂 Cuz I know that I am always behind, that it won’t stop me, and that I will want to prove to myself that ‘I still can crack the unknown’, despite it being very uncomfortable waters for me…
So…
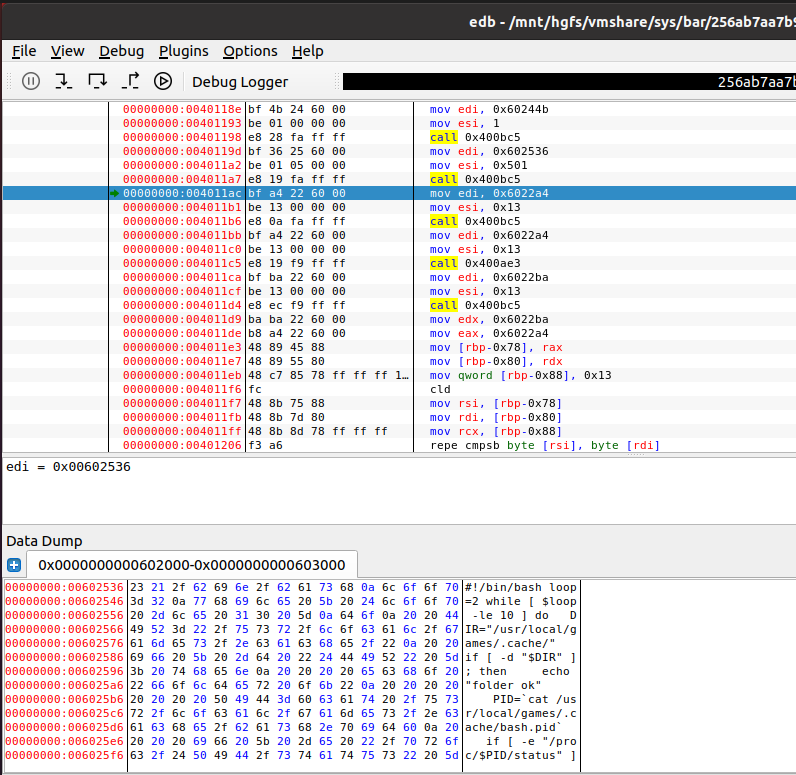
I opened this sample in IDA, I also opened the sample in edb. Kinda in parallel. I could immediately see it’s protected, so after some back and forth I managed to oversee the unpacking, and then dump the memory regions showing all the unprotected code and data. But. I felt really strongly that it was not enough. It felt “dirty”. That’s because I suspected it may be some well-known protector at work, and me not even knowing about it had a very dramatic implication – I just suck at ELF reversing!
After the fruitful dynamic analysis with edb, my next tool of choice was upx –fileinfo <file>. It’s not a command line argument supported on Windows, but it is on Linux. It’s awesome when it works f.ex. the compressed login program I talk about later gives the following output when treated as input to upx –fileinfo <file>:
./login [amd64-linux.elf, linux/amd64]
23204 bytes, compressed by UPX 13, method 2, level 8, filter 0x49/0x02
Yup. The UPX tool tries to tell you if the file is compressed with … well.. UPX, plus all the gore technical compression type details.
The result of running –fileinfo over our sample is this tho:
upx: sample: NotPackedException: not packed by UPX
Hmm but it does really look quite familiar. Yes, I have seen UPXed ELF files before: not enough to feel comfy recognizing them all on the spot, but still enough to kinda get a ‘feel’ that ‘they might have been UPXed’ about them.
Hard to explain. When you know, you just know…
So, then I decided to compress a random ELF binary to see how the output file looks like, for science. I compressed /bin/login and there was no surprises… The way the compressed file looked in a binary editor resembled the way sample I was dealing with was looking like… very closely… (and yes, that’s the compressed login sample I referred to above).
So…
At this stage I knew that while UPX tool didn’t recognize it, it was most likely a modified UPXed sample…
Before we continue, a digression: there is a fantastic blog post written by Akamai researchers about modified UPX and ‘unpackable’ ELF binaries – sadly, I only found it during my ‘lessons learned’ stage. If you deal with ELF file analysis, I highly recommend reading that post asap.
Back to my mundane analysis — this is when DetectItEasy enters the scene.
Yes, I was wrong. I should have used it from the start, as I usually do for all the PE files, but I fooled myself thinking that ‘I probably don’t need it’ as ELF files are really not that popular and I can crack any of them in no time. Stupid, stupid me.
Loading the sample into DetectItEasy produced this result immediately:

You seeing what I see?
DetecftItEasy not only recognizes the protector (UPX), but also that it is modified, and… then… lo and behold, it gives us a hint WHAT has been modified. That ‘45564F4C’ string included in a ‘Modified’ packer section refers to the string inside the modified UPXed sample where standard UPX’s signature ‘UPX!’ has been replaced with ‘45564F4C’. Once you see it, the only thing you need to do is to edit the sample and replace all occurrences of ‘45564F4C’ with ‘UPX!’, and then save it as <patched_sample>. Then you just run ‘upx-d <patched_sample>‘ and if lucky, you will get a properly unpacked sample! If you read the Akamai post you know it won’t be that easy all the time, but Linux world is way behind Windows when it comes to code protection and we can still win many of these reversing battles pretty easily.
I have sent two versions of the findings to the ransom internet person. One was memory dumps of decompressed (and decrypted) malware taken directly from memory of the process, and then the fully unpacked version of the malware. I probably spent 45 minutes on the first part, and 5 minutes on the second. It’s a very humbling experience, because it confirmed that I truly suck at ELF file reversing!